
Here in Ohio we have lots of Cardinals. It is our state bird, by the way. I love hearing their cheerful chirp and seeing their bright red feathers when they visit my bird feeders. Especially love seeing them in the winter when the ground is covered in snow.
Our temperatures this week are not suppose to get out of the forties. That is a bit chilly for October here. So once again my mind is thinking Winter. That is not all bad, I am getting a head start on my Christmas cards. Maybe I will get some sent this year. 🙂 Last year I did not even get my Christmas cards made. You would think with as many cards that I make that would not be a problem. . . . . . where does the time go. If I could just do without sleep entirely. .. . . . . . . .maybe, just maybe, lol.
Let’s get started.
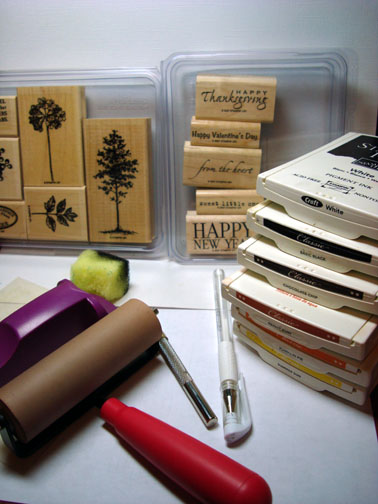
Supplies:
| Stamps: Stampin’ Up! A Cardinal Christmas & Serene Snowflakes |
| Paper: Stampin’ Up! Whisper White, Bashful Blue & Basic Black |
| Ink: Stampin’ Up! Basic Black, Not Quite Navy & Night of Navy |
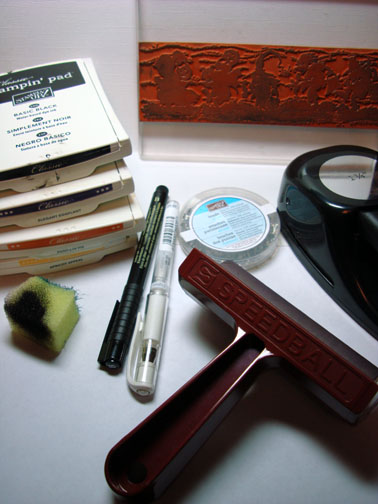
| Accessories: Stampin’ Up! Markers Old Olive, Always Artichoke, Real Red, Bravo Burgundy, More Mustard & Close to Cocoa, Red Ribbon, Versamark marker & Pad, Clear embossing powder, heat gun, brayer, post it note, sponge |
Want a free 39 page, Stampin’ Up Mini catalog? If you are a resident of the United States, just e-mail your mailing address to me and I will get one in the mail to you. Are you inspired by this Blog? One way you can help support this blog is by ordering your Stampin’ Up products through me. You can order from me 24-7 from this link: http://michellezindorf.stampinup.net or e-mail me at mzindorf@aim.com If you are within the United States. Want a copy of the brand new 2009-2010 Stampin’ Up Catalog for $9.95 with free shipping, just e-mail me at mzindorf@aim.com and I will get one in the mail to you. Want to become a Stampin’ Up Demonstrator and earn instant income? Consider being part of my Stampin’ Up Team. Also check out the Stampin’ Up specials, click this link to check it out: http://www.stampinup.net/esuite/home/michellezindorf/promotions

On a 3.5″ x 5″ piece of Whisper White card stock stamped the snowflakes from the Stampin’ Up set Serene Snowflakes with Versamark only. Heat embossed the images using clear embossing powder and a heat gun.


Stamped the Cardinal from the Stampin’ Up set A Christmas Cardinal by first loading the stamp with Versamark and then with Basic Black ink before stamping it. Heat embossed the image using clear embossing powder and a heat gun.


Colored the leaves in with an Old Olive marker in the light areas and Always Artichoke in the dark areas.

Colored the Cardinals beak with a More Mustard marker. Also colored his chest and head with the More Mustard marker. I wanted the More Mustard under the red I will put on next to warm the red up a bit.

Colored over the bird with the a Real Red marker.

Colored over the Cardinal’s back and tail with a Bravo Burgundy marker.

Now keep in mind that you will need to wipe ink off of your embossed images through out this project. I use an old cotton towel.

It is hard to see in this photo, but I colored in the stems with a Close to Cocoa marker, his feet with the More Mustard marker and the Berries with the Bravo Burgundy marker.

Colored over the image, staying within the embossed lines with a Versamark marker. Heat embossed the image using clear embossing powder and a heat gun.


Now that my image is completely embossed I can put in my back ground and the embossing with resist the ink.
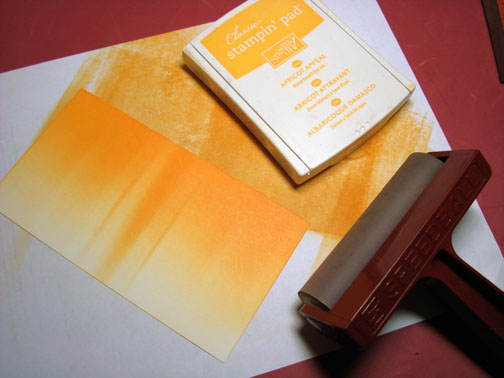
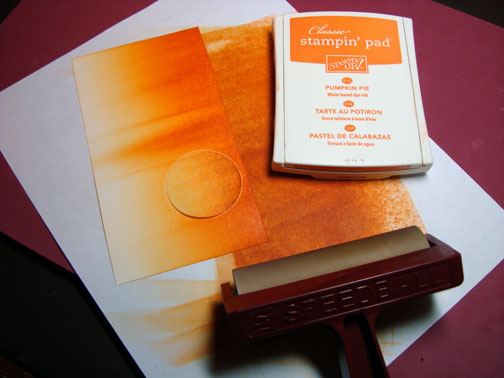
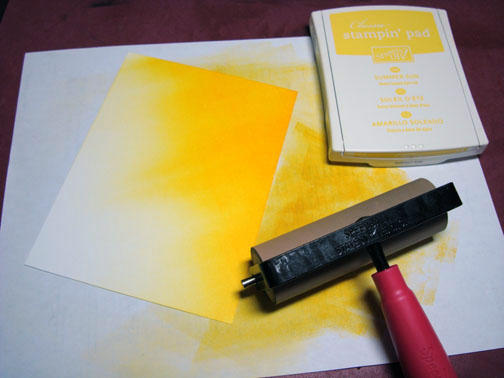
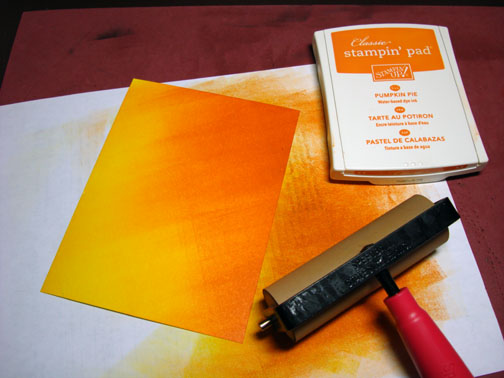
Brayered Not Quite Navy ink from the top of the card stock to the bottom.
We can see the snowflakes now that I stamped in step one.

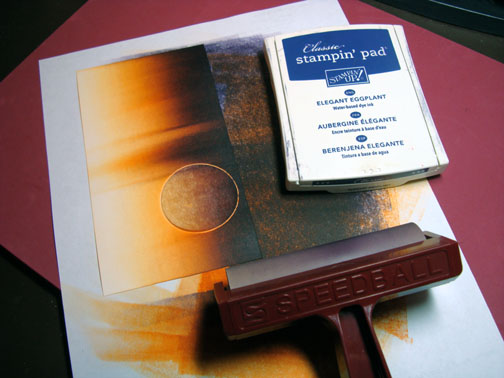
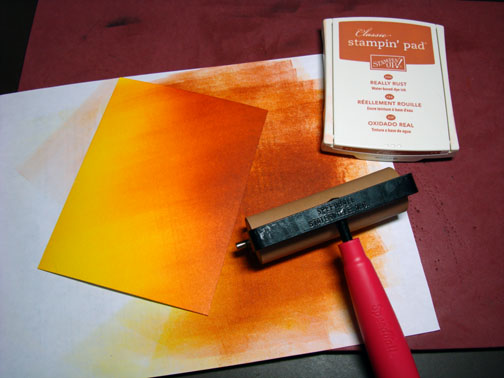
Brayered Night of Navy at the top of the card stock.

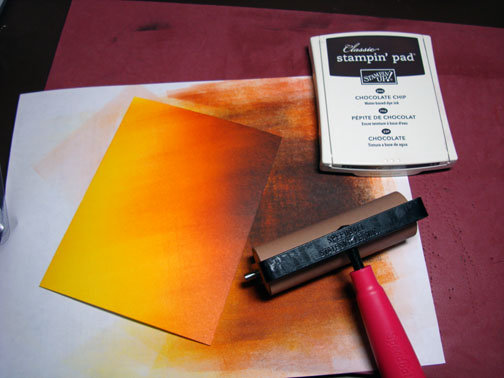
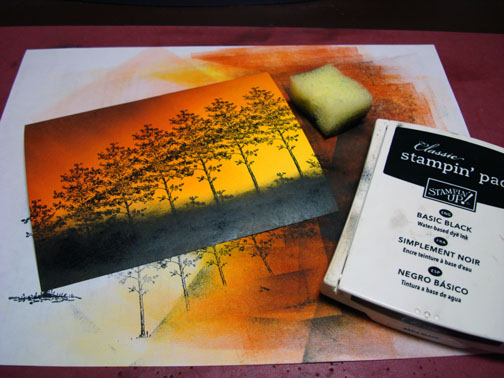
Tore a Post It Note and sponged Night of Navy at the post it note edge to create a hill shape.

Moved the post it note and repeated the last step to create a second hill.

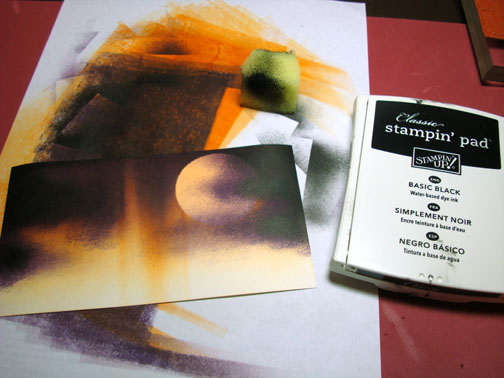
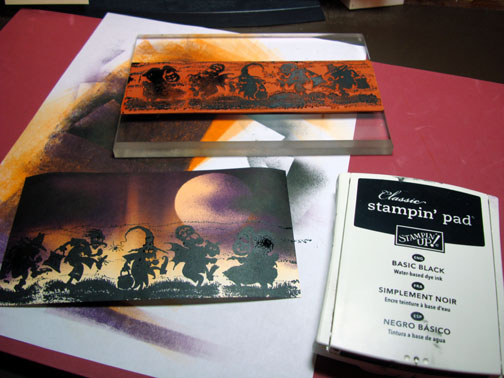
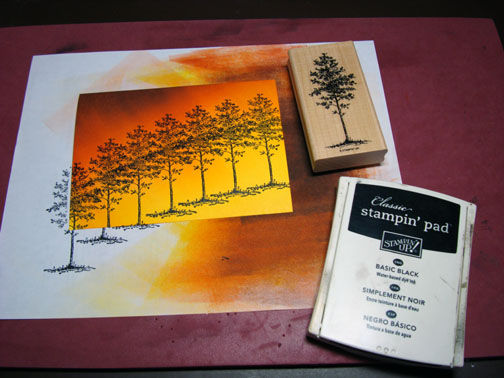
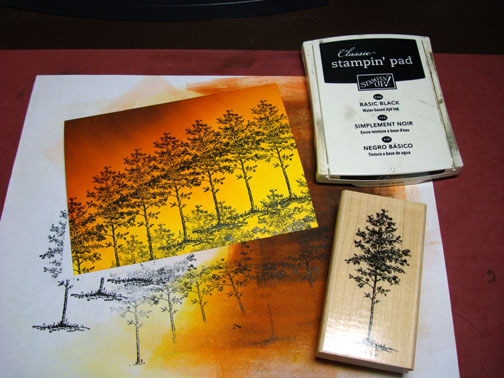
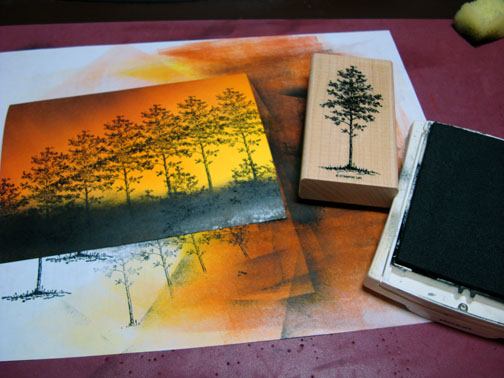
Stamped the Leaf Shadow stamp from the Stampin’ Up set A Cardinal Christmas a few times using Not Quite Navy ink.

Remember, I am wiping the ink off of my embossed images each step.
Sponged Night of Navy ink around the edge of the card stock and over the stamped leaf shadows to darken the left side of the panel.

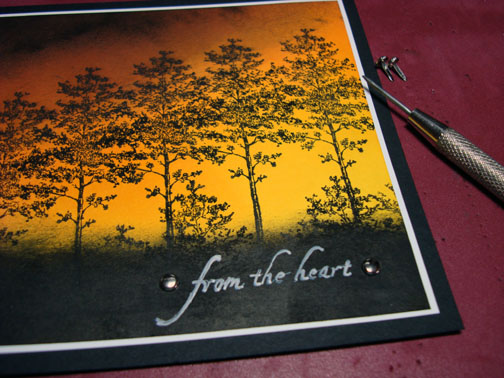
Added White Gel pen to the branch and leaves to look like snow.

Lastly, I heated my embossed images to make them shiny again. They get dual when you wipe them off a few times. Heating them brings back that shine.

Sponged Not Quite Navy around the edges of a Bashful Blue card stock panel.

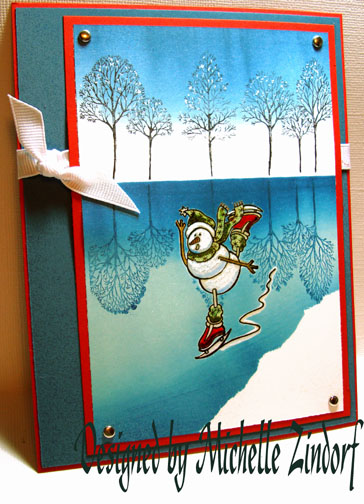
Assembled my card and added some red ribbon. I kept this card layout very simple so the main image panel would be the focus.
I hope you enjoyed this tutorial. Do you believe this is number 270!
May your day be filled with warmth and love.
Until my next post. . . . . . . .
Huge Hugs,
Michelle
 Get ready for Brayer Workshops! I am coming to:
Broomfield, Colorado
Moore, Oklahoma
Nashville, Indiana
Portland, Michigan
2010Dayton, Ohio at Marco PaperPhoenix, ArizonaMonroe, LouisianaJacksonville, Florida
St. Louis, Missouri
Mechanicsville, Virginia
Raleigh, North Carolina
Colleyville, Texas
Colorado Springs, Colorado
Boise area of Meridian, Idaho
Riverside, California (Southern California)
Salem, Oregon
Wheaton, Illinois
St. Cloud, Minnesota
Rockville, Maryland
North Chili, New York (near Rochester)
New Johnsonville, Tennessee
Kenova, West Virginia
Helena, Montana
Middleburg Heights, Ohio
Venice, Florida
Ginnell, Iowa
Piedmont, Alabama
Auburn, Washington (near Seattle)
Elk Grove Village, Illinois
Here is a link to my workshop calendar where you can see all of my travel schedule and to get info on beginner and advanced Brayer workshops: http://zindorf.blogs.splitcoaststampers.com/workshop-calendar
Link to my Stampin’ Up website where you can order all of your must have Stampin’ Up products from me 24-7: http://michellezindorf.stampinup.net
Frequently asked questions answers: http://zindorf.blogs.splitcoaststampers.com/frequently-asked-questions/


