As promised, here is the tutorial. 🙂
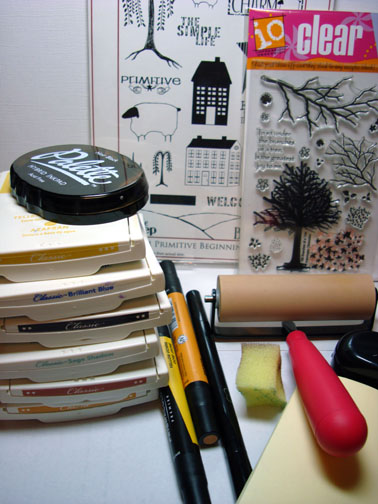
Supplies:
| Stamps:Cornish Hertiage Farms ” Primitive Beginnings & Impression Obsession ” Branches of a Tree |
| Paper: Stampin’ Up Whisper White, Sage Shadow & Chocolate Chip |
| Ink: Stampin’ Up So Saffron, Brilliant Blue, Chocolate Chip, Sage Shadow, Really Rust, Palette Noir Black |
| Accessories:Brayer, Sponges, Post it notes, Ticket Corner Punch, Prismacolor Markers, Versamark Marker, Clear embossing powder, Heat Gun |
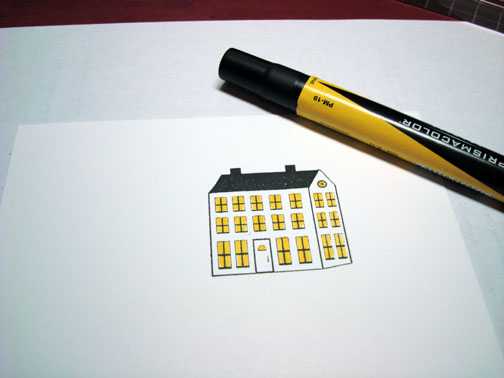
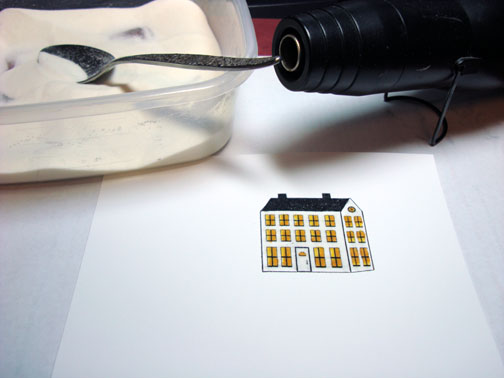
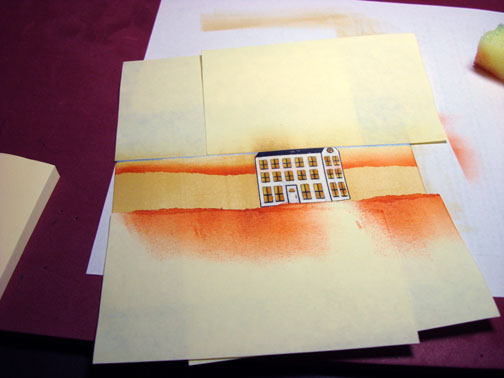
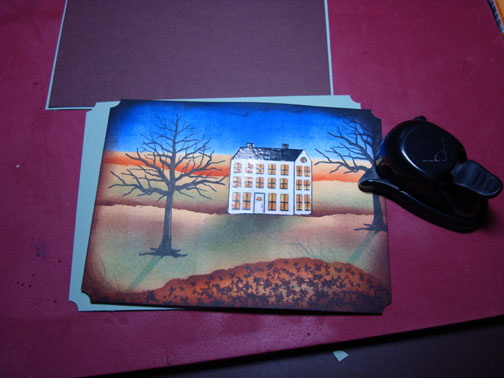
Stamped house with Palette Noir Black ink on a 4.5″ x 6″ piece of Whisper White card stock.

Colored window with a Prismacolor Yellow Ochre marker.
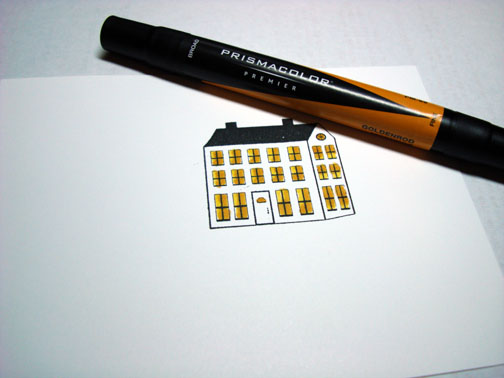
Colored 2/3rds of each window in with a Goldenrod marker to create a shadow on each window.
Colored over the entire house with a Versamark marker.
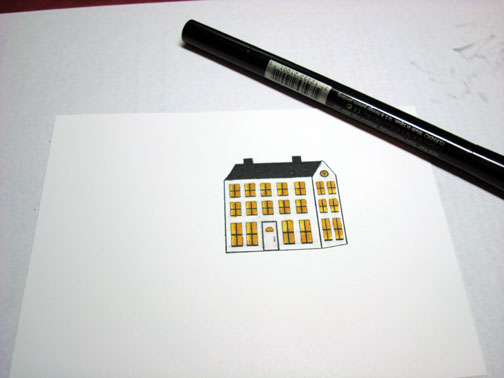
Heat embossed the image using fine detail embossing powder and a heat gun.
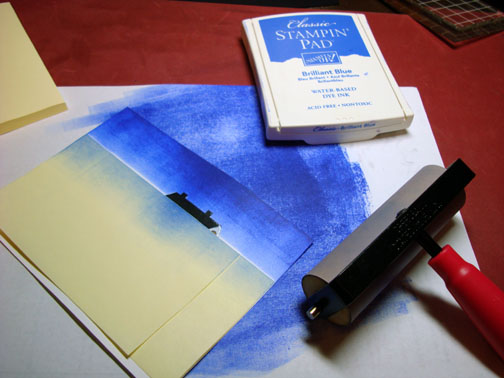
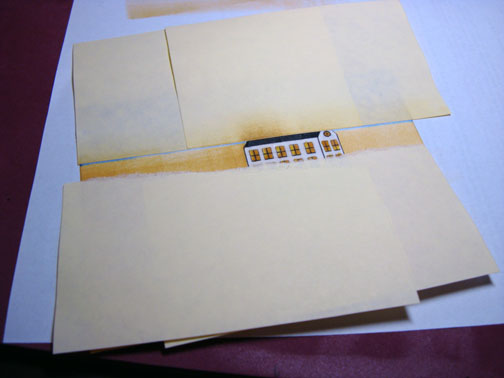
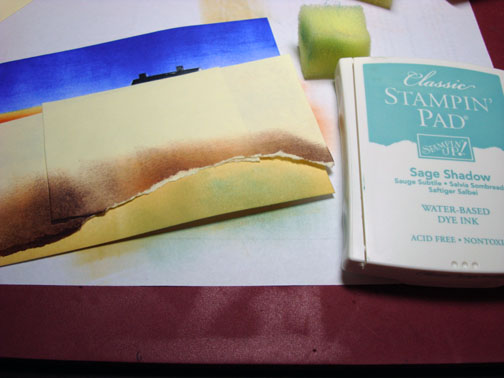
With Post it notes, masked 2/3rds of the card stock and brayered Brilliant Blue ink in for the sky.
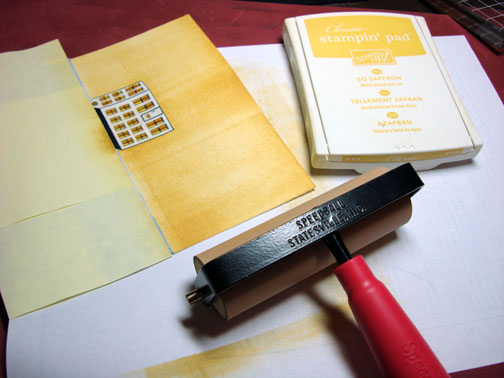
Masked the sky with Post it notes and brayered So Saffron on the unmasked area of the card stock.
Ripped through the sticky part of two post it notes and used them to mask the lower portion of the card stock.
Sponged Really Rust ink at the post it notes torn edge.
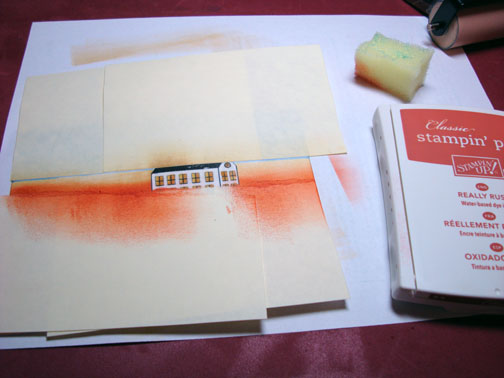
Moved the torn post it notes down a bit.
Sponged Sage Shadow ink at the post it notes torn edge.
Sponged Chocolate Chip ink right at the torn edge, not covering the Sage Shadow ink entirely.

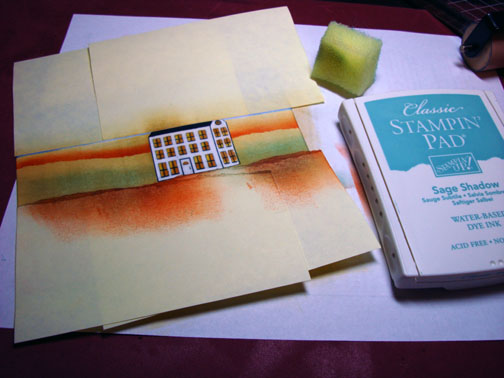
Removed the post it notes. Used the torn post it notes again, only I tore a hill shape out of them. Masked all but the bottom of the card stock.

Sponged on some Sage Shadow ink in the unmasked area.
Sponged on some Really Rust ink, leaving some of the Sage Shadow ink showing.

Sponged on Chocolate Chip ink right at the torn post it note edge and at the very bottom of the card stock.
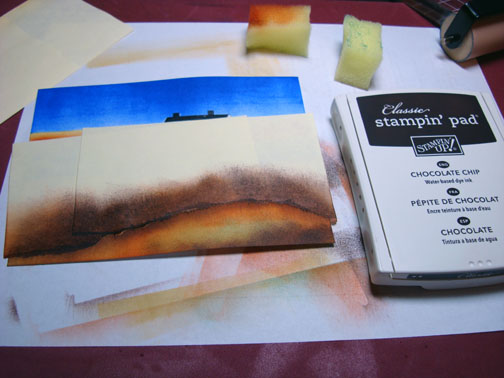
Removed the post it notes.
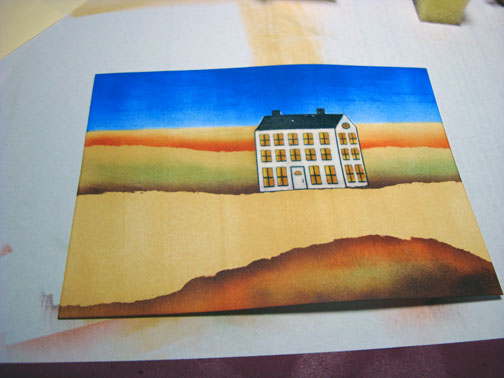
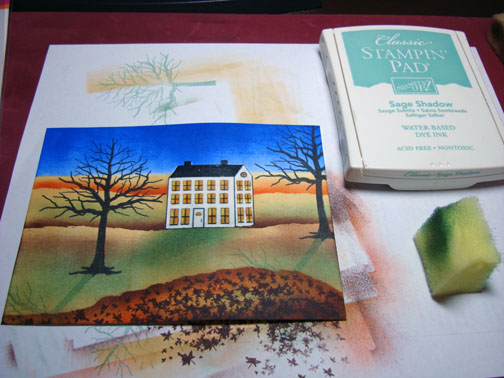
Sponged on Sage Shadow ink above the bottom hill.
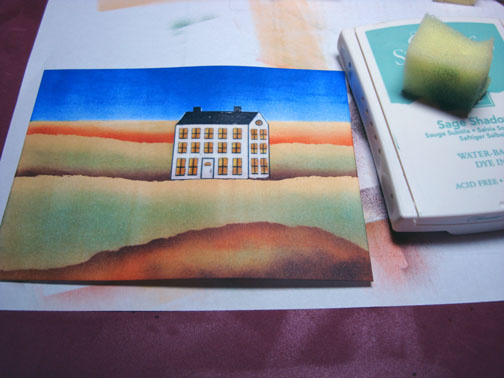
Sponged on Chocolate Chip ink above the Sage Shadow ink just applied.

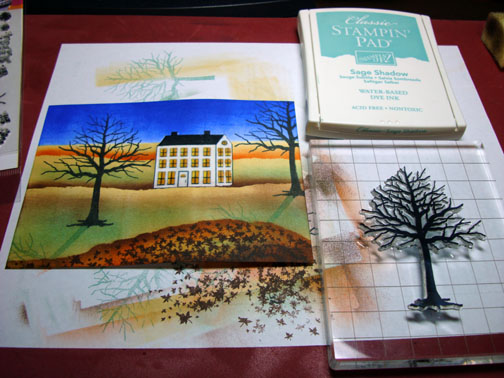
Stamped the tree twice with Palette Noir Black ink.
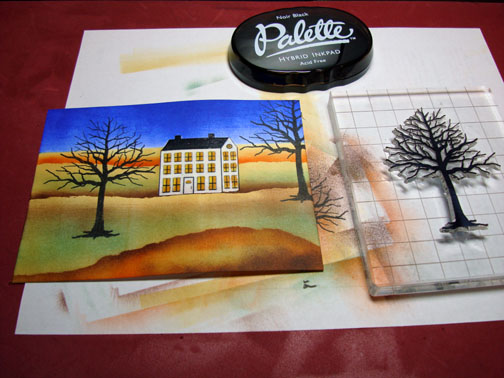
Stamped the leaves on the bottom hill with Chocolate Chip ink.
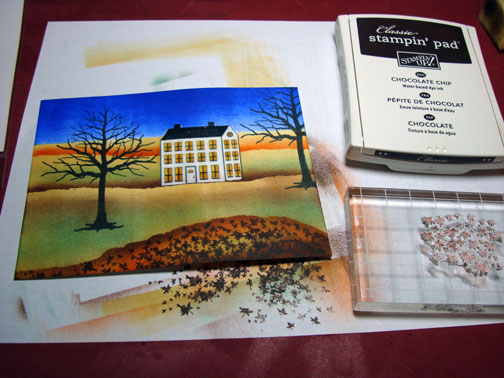
Stamped the trees again, but upside down and at an angle with Sage Shadow ink to create the trees shadows.
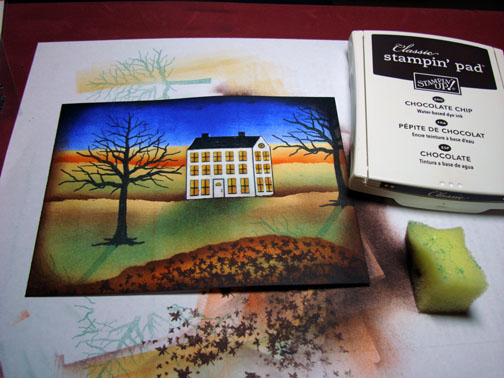
Sponged on Sage Shadow ink at an angle under the house to create a shadow for the house.
Added a little Chocolate Chip ink to the middle of the house’s shadow. Also sponged the Chocolate Chip ink around the outside edge of the card stock.
Note: When you put a really dark color around the outside edge of the main image panel it makes the middle of the panel much brighter in appearance.
Used a ticket corner punch on my main image panel and the Sage shadow panel that will go underneath it.
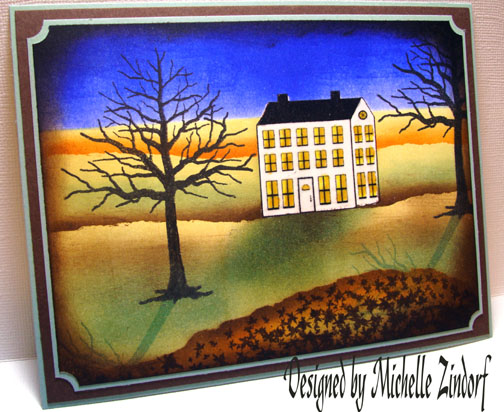
Here is the finished card measuring 5″ x 6.5″.
Hope your evening is a terrific one.
Until my next post. . . . . . .. . . . . .
Hugs,
Michelle

32 thoughts on “Autumn in the Country”