
Here I am at tutorial #400. Thanks for hanging out with me so far. Hopefully, I will be around to create many, many more. It is always so shocking to hit a big milestone though. If you have missed any of the previous tutorials and want a quick way to look through them, click on the tab at the top of my blog that says “Tutorials”. You will find thumbnail size pics that you can click on that will take you straight to the tutorial you are looking for. 🙂 Check it out.
Inspiration comes to me from many places. I never thought it would be from the pet store though. But here it is, I was inspired by a fish tank full of Neon Fish. 🙂
Now on with tutorial #400!
Supplies:
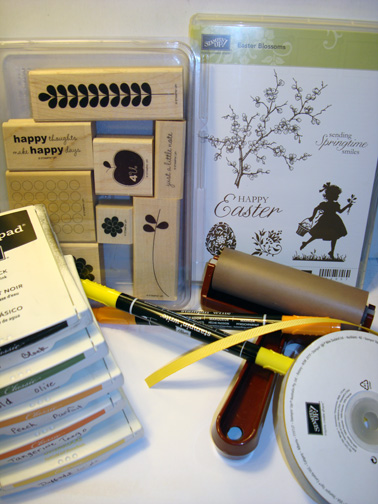
| Stamps: Stampin’ Up! C is for Cat, Pocket Silhouettes and Apple Blossoms |
| Paper: Stampin’ Up Desiger paper, Whisper White, Always Artichoke, River Rock and Rose Red card stock |
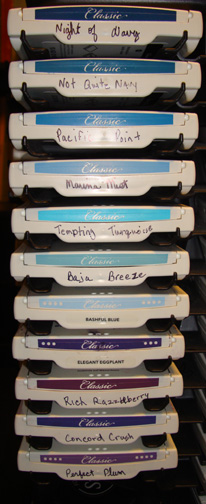
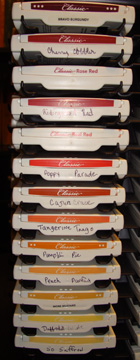
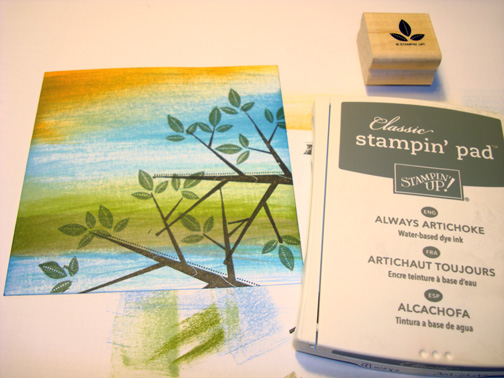
| Ink: Stampin’ Up! Pacific Point, Garden Green, Tempting Turquoise, River Rock, Basic Black, Crumb Cake and Always Artichoke |
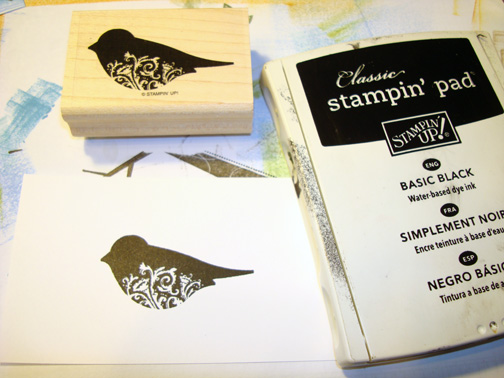
| Accessories: Stampin’ Up! Gold Brads, Brayer, Sponge, White Gel Pen, Basic Black marker, Hobby Blade, Versamark Pad, Rose Red Marker, Post it Notes, Clear Embossing Powder and Heat Gun |
 My Stampin’ Up customers that order $50 in Stampin’ Up merchandise will receive this handmade card though March 31, 2011.
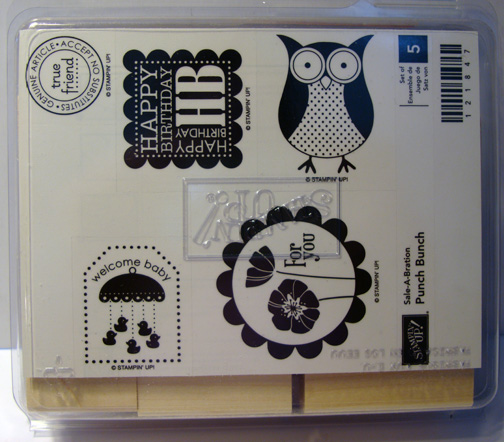
Don’t forget it is Sale-a-bration time at Stampin’ Up. Receive a free Sale-a-bration set for each $50 in merchandise purchased. Click HERE to place an order. Your order will be shipped directly to your door step from Stampin’ Up!
The Stampin’ Up USA Idea book and Catalog is here. For your copy, please send a check for $9.95 to Michelle Zindorf, P.O. Box 116, West Alexandria, OH 45381 or send it via paypal to mzindorf@aim.com USA only. My current customers will receive a new Occasions Mini Catalog automatically from me. Not a current customer and want a free copy of the new Occasions Mini Catalog ? E-mail your mailing address to mzindorf@aim.com and I will get one in the mail to you.  Are you getting inspiration from this blog? One way you can help support it is to order your Stampin’ Up products through me. Click HERE to place an order. Want to become a Stampin’ Up Demonstrator , receive a 20% discount on product and earn instant income on orders? Consider being part of my Stampin’ Up Team and start your own business or become a Hobby Demo just for the discount. Click HERE for more information.

Please bare with me through the first few pictures, lol. I apparently had hit a setting I should not have on my camera. 🙂 Yep, I’m only human.
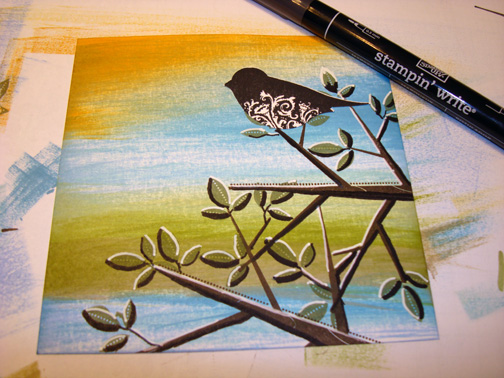
Loaded the fish stamp from the Stampin’ Up set C is for Cat with Versamark, Tempting Turquoise ink and then used the brush end of a Rose Red Marker on the bottom half of the fish before stamping it. Yes that is right, load Versamark, ink and marker all before stamping it. 🙂

Heat emboss the images using Clear embossing powder and a heat gun.

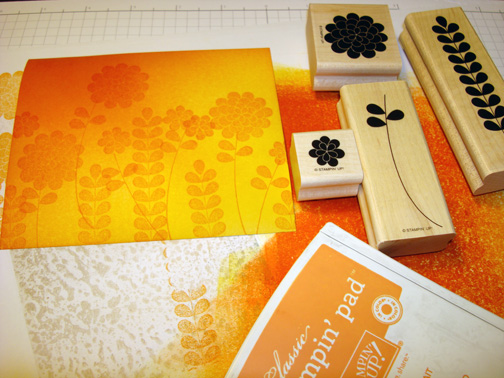
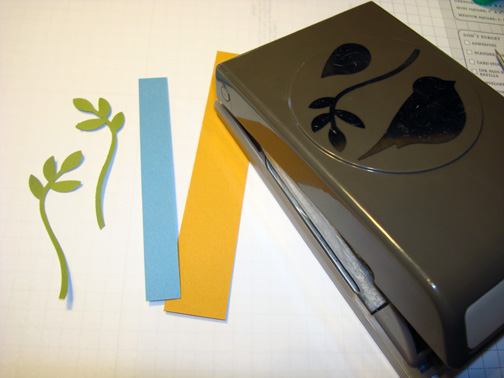
Loaded the Plant from the Stampin’ Up set “Pocket Silhouettes” with Versamark and Old Olive ink before stamping it. Reloaded for the second stamping.

Heat embossed the images using clear embossing powder and a heat gun. Ahh, now my pictures are looking better, lol.

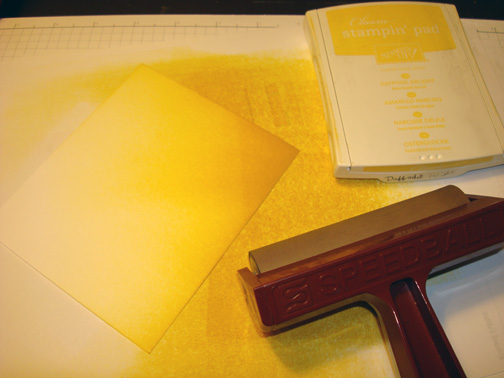
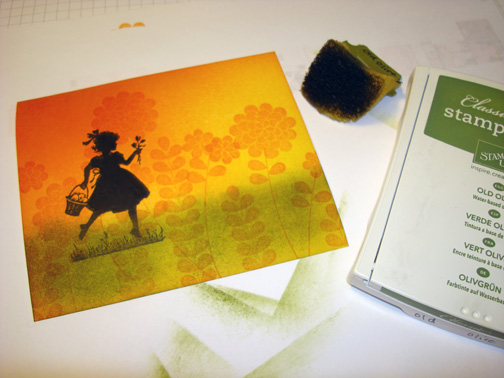
Ripped a post it note and used it as a mask for the sand.

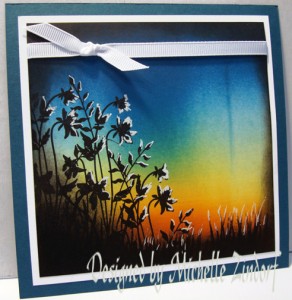
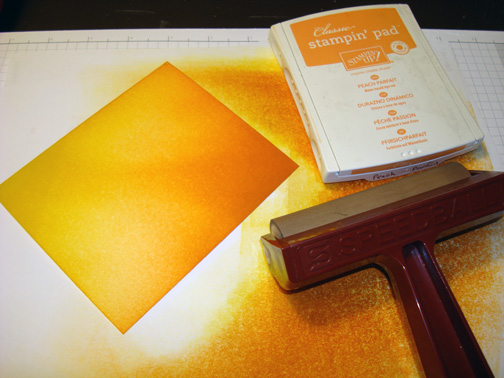
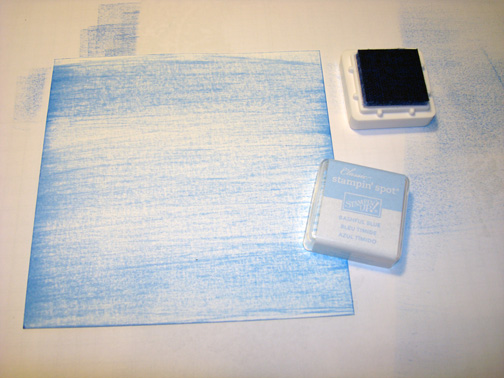
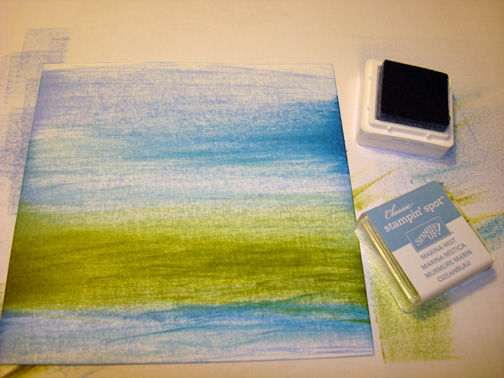
Brayered Pacific Point ink at the top of the card stock.

Be sure to lightly buff off your embossed images with a paper towel after putting ink over them. Be careful not to scrub them.

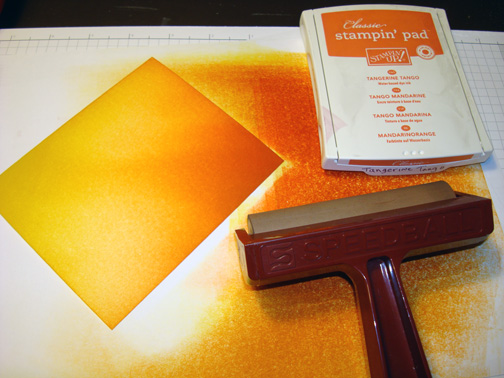
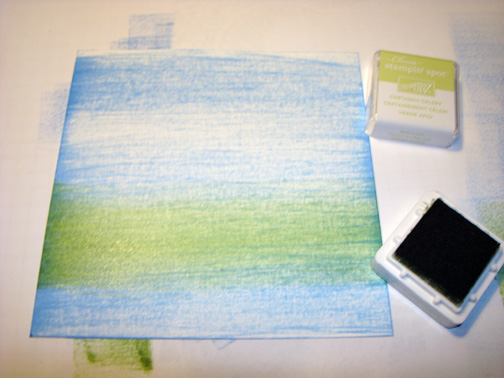
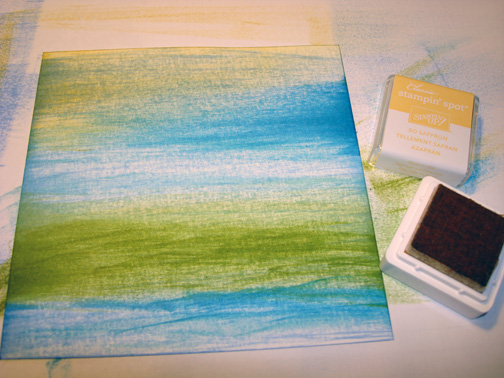
Brayered Garden Green ink at the top of the card stock, not covering the Pacific Point ink entirely.

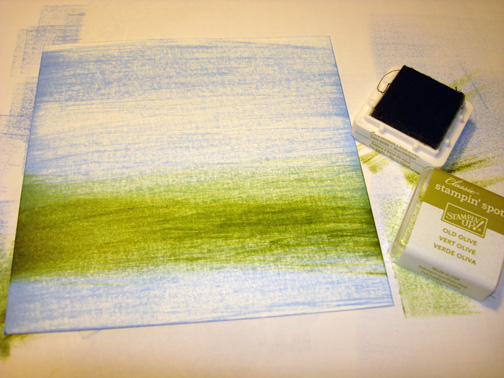
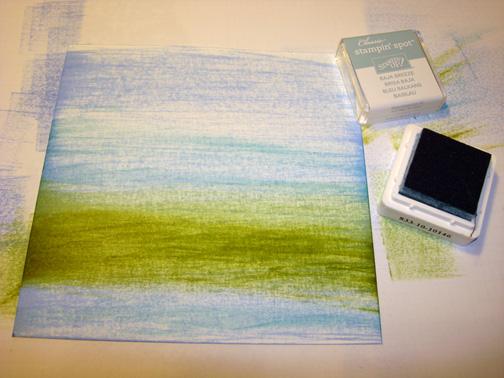
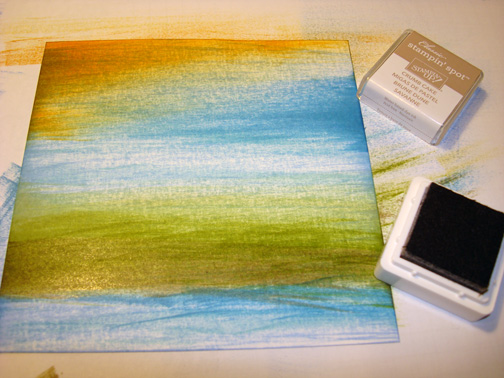
Removed the sand mask and brayered River Rock ink at the bottom of the card stock.

Ripped a post it note in a hill shape and used it as a mask.

Sponged Crumb Cake ink at the post it note edge.

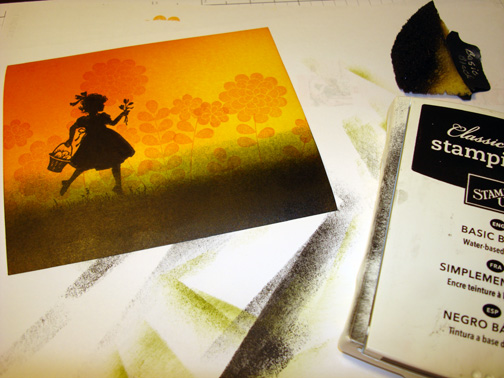
Moved the post it note and put in a second little hill.

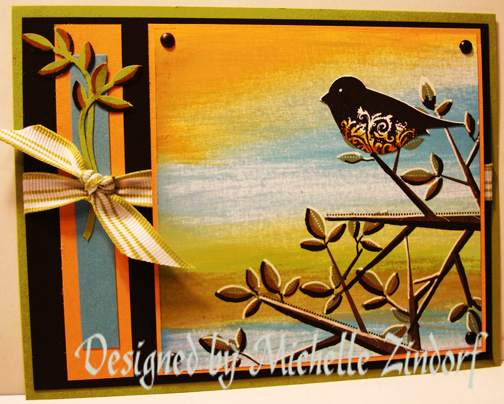
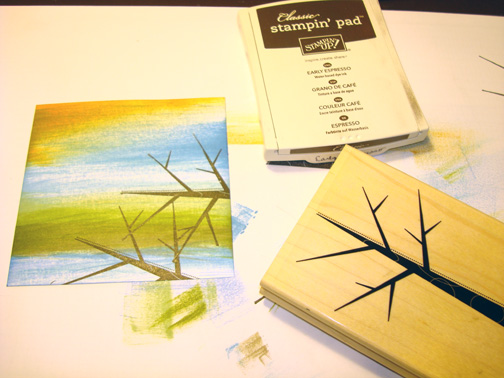
Stamped the plant using Always Artichoke ink along the bottom of the card stock.

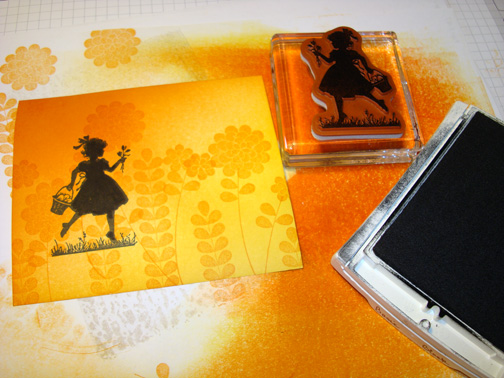
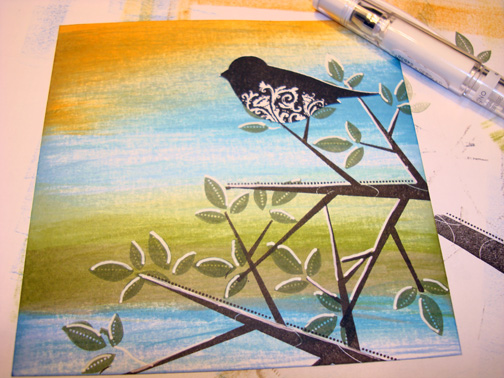
Added White Gel Pen highlights to the tops of the plants and fish.

Added Basic Black marker underneath the leaves and a few of the fish, being careful not to get the marker on the embossed images.

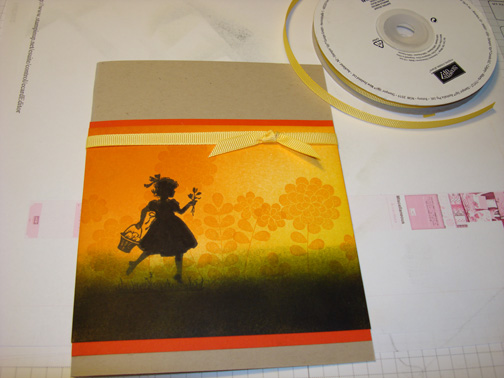
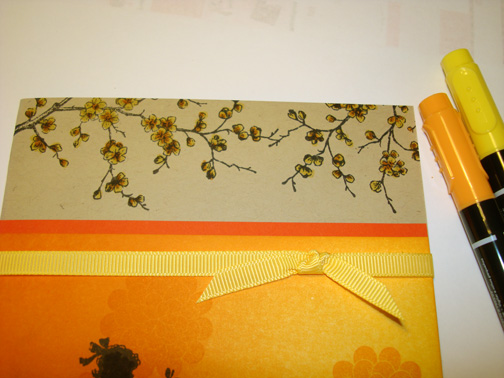
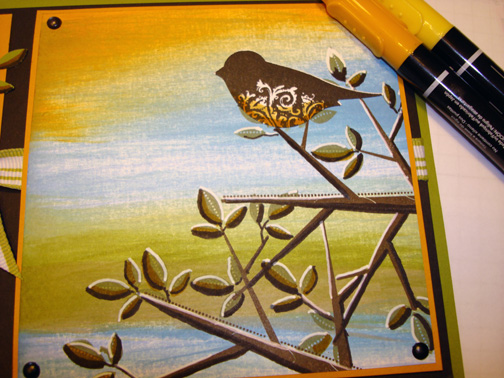
Cut 2 pieces of designer paper 3.5″ x 5.75″.

Put them on a Stampin’ Up glass cutting mat and used my Hobby Blade to cut the two pieces of paper at one time. This keeps the lay edges the same shape so you can stagger them.

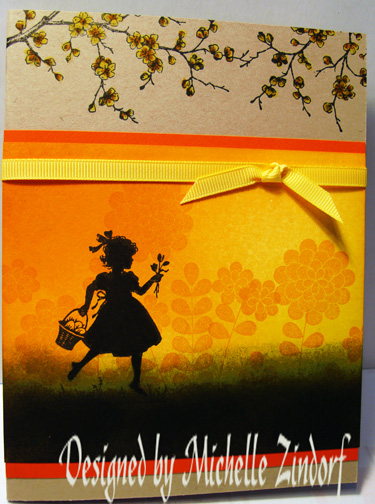
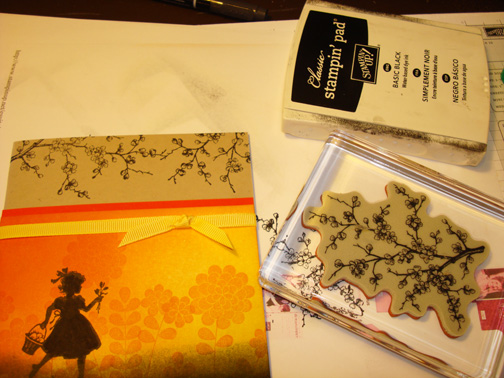
Added an Always Artichoke panel and a River Rock panel. Stamped the sentiment from the Stampin’ Up set Apple Blossoms using Basic Black ink.

Added a 5″ x 6.5″ Rose Red card stock panel and Gold Brads. Here is my finished card measuring 5″ x 6.5″.
I am off to Houston, TX tomorrow to have a grand time teaching my brayering techinques. You all have a super weekend!
Until my next post. . . . . . .
Hugs,
Michelle
 Get ready for Brayer Workshops! I am coming to the following locations, click the location name for more information.
Houston, Texas
Wichita, Kansas
Syracuse (Bridgeport), New York
St. Peters, Missouri
La Porte, Indiana
Orlando (Davenport), Florida
St. Cloud, Minnesota
Colorado Springs, Colorado
Ottumwa, Iowa
Owings Mills, Maryland (Baltimore Area)
Cleveland (Euclid), Ohio
Staley , North Carolina (South of Greensboro)
Monroe, Connecticut
Dayton, Ohio
Leesburg, Florida
Montreal, Wisconsin
Savannah, Georgia
Lincoln, Illinois
Jefferson, Louisiana (New Orleans Area)
Here is a link to my workshop calendar where you can see all of my travel schedule and to get info on beginner and advanced Brayer workshops: http://zindorf.blogs.splitcoaststampers.com/workshop-calendar
Don’t see a workshop in your State? Interested in hosting the workshops in your area in 2012? Click HERE to get hostess information.
Link to my Stampin’ Up website where you can order all of your must have Stampin’ Up products from me 24-7: http://michellezindorf.stampinup.net


