
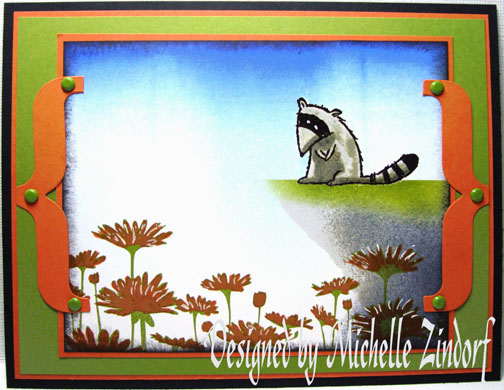
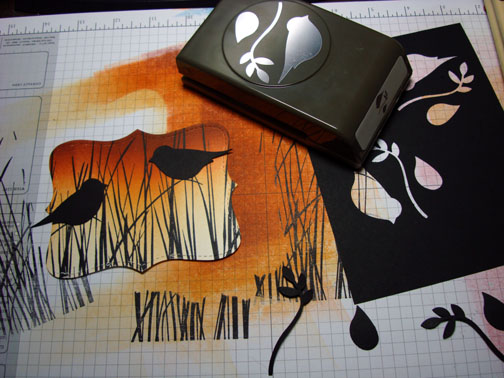
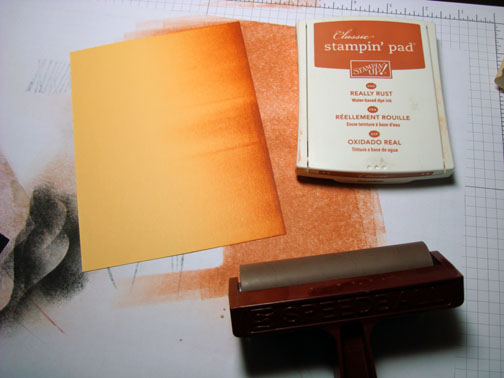
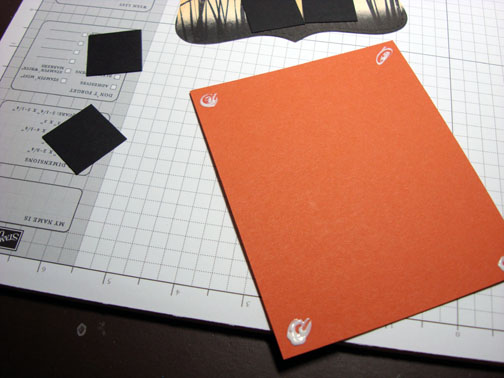
How about a little punch art today? I’m always trying to come up with cards for the men in my life. Here is one that is pretty quick to put together using a few Stampin’ Up punches. I think anyone that likes to play pool would be happy to receive this. 🙂
Let’s get started. . . . . . . .
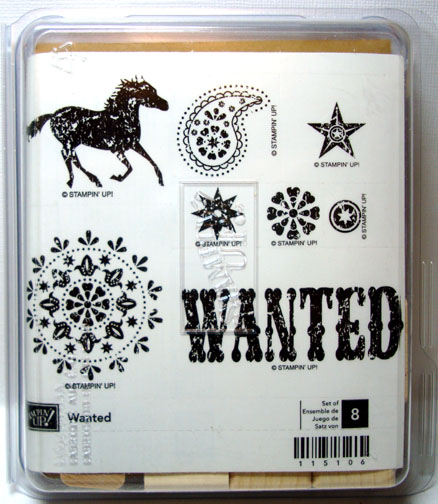
Supplies:
| Stamps: None |
| Paper: Stampin’ Up Whisper White, Creamy Caramel, Basic Black and Really Red |
| Ink: Stampin’ Up Garden Green and Sahara Sand |
| Accessories: Stampin’ Up Punches 1 1/4″ Circle Punch, 1 3/4″ circle Punch, Word Window Punch, Photo Corner Punch, Sponges, Silver Brads |
Don’t forget to request your copy of the new Stampin’ Up Occasions mini catalog and Sale-a-bration mini. Just e-mail me your address and I will be glad to send you a set for free. The new Occasions mini catalog can also be viewed on-line here: http://204.228.150.61/catalogs/20091231/OccasionsMini10_US.pdfThe New Sale-a-Bration Mini Catalog can also be viewed on-line here:http://204.228.150.61/catalogs/20091231/SAB_10_US.pdfAre you getting inspired and enjoying this blog. One way you can help support it is to order your Stampin’ Up products through me. You can order from me 24-7 from this link: http://michellezindorf.stampinup.net or e-mail me at mzindorf@aim.com. Want to become a Stampin’ Up Demonstrator and earn instant income? Consider being part of my Stampin’ Up Team and start your own business

Using the Stampin’ Up Word Window Punch, punched one out of Creamy Caramel, Whisper White and Really Red card stock.

Discarded the Really Red and Whisper White punches. Lined the Whisper White card stock up with the punch as shown in the picture below. You just want to punch a little piece out.
Do the same thing with the Really Red card stock.

Cut one of the curved ends off of the Creamy Caramel punch using scissors. Now you have these three pieces. These are the pieces for the pool stick.

Punched a 1 3/4″ circle from Basic Black card stock.
Stamp or use your printer to put a number “8” on Whisper White card stock and punch it out with a 1/1/4″ circle punch.

Shadow the bottom 1/3 of the Whisper White Circle with Sahara Sand ink and a sponge.

Adhere the Whisper White circle onto the Basic Black circle and then piece the pool stick pieces together. Adhere the pool ball and pool stick to a piece of Going Green card stock.

Sponge Garden Green ink the bottom of the Garden Green panel. This step would be easier to do if you did it before you adhere the punches to it.
Add Really Red, Basic Black and Creamy Caramel panels. Also adhere 4 small Basic Black Photo Corner punches under the Creamy Caramel panel corners.
Add 4 silver brads to the main image panel corners.

Here is the finished card measuring 5″ x 6.5″.
Give this tutorial a try or take a look at your punches to see what you can come up with.
May your day be full of sunshine and warmth.
Huge Hugs,
Michelle
 Get ready for Brayer Workshops! I am coming to:
Mechanicsville, Virginia (Sold Out)
Raleigh, North Carolina (Sold Out)
Colleyville, Texas (Sold Out)
Colorado Springs, Colorado (only three spots left)
Boise area of Meridian, Idaho
Riverside, California (Southern California)
Salem, Oregon
Wheaton, Illinois
St. Cloud, Minnesota
Rockville, Maryland (Sold Out)
North Chili, New York (near Rochester) (Sold Out)
New Johnsonville, Tennessee
Kenova (Huntington), West Virginia
Helena, Montana
Middleburg Heights, Ohio
Venice, Florida
Grinnell, Iowa
Piedmont, Alabama (Near GA border close to Cedartown)
Auburn, Washington (near Seattle)
Elk Grove Village, Illinois
Savannah, Georgia
Atlanta, Georgia
North Liberty, Indiana
Saledad, California
Here is a link to my workshop calendar where you can see all of my travel schedule and to get info on beginner and advanced Brayer workshops: http://zindorf.blogs.splitcoaststampers.com/workshop-calendar
Link to my Stampin’ Up website where you can order all of your must have Stampin’ Up products from me 24-7: http://michellezindorf.stampinup.net
Frequently asked questions answers: http://zindorf.blogs.splitcoaststampers.com/frequently-asked-questions/


